

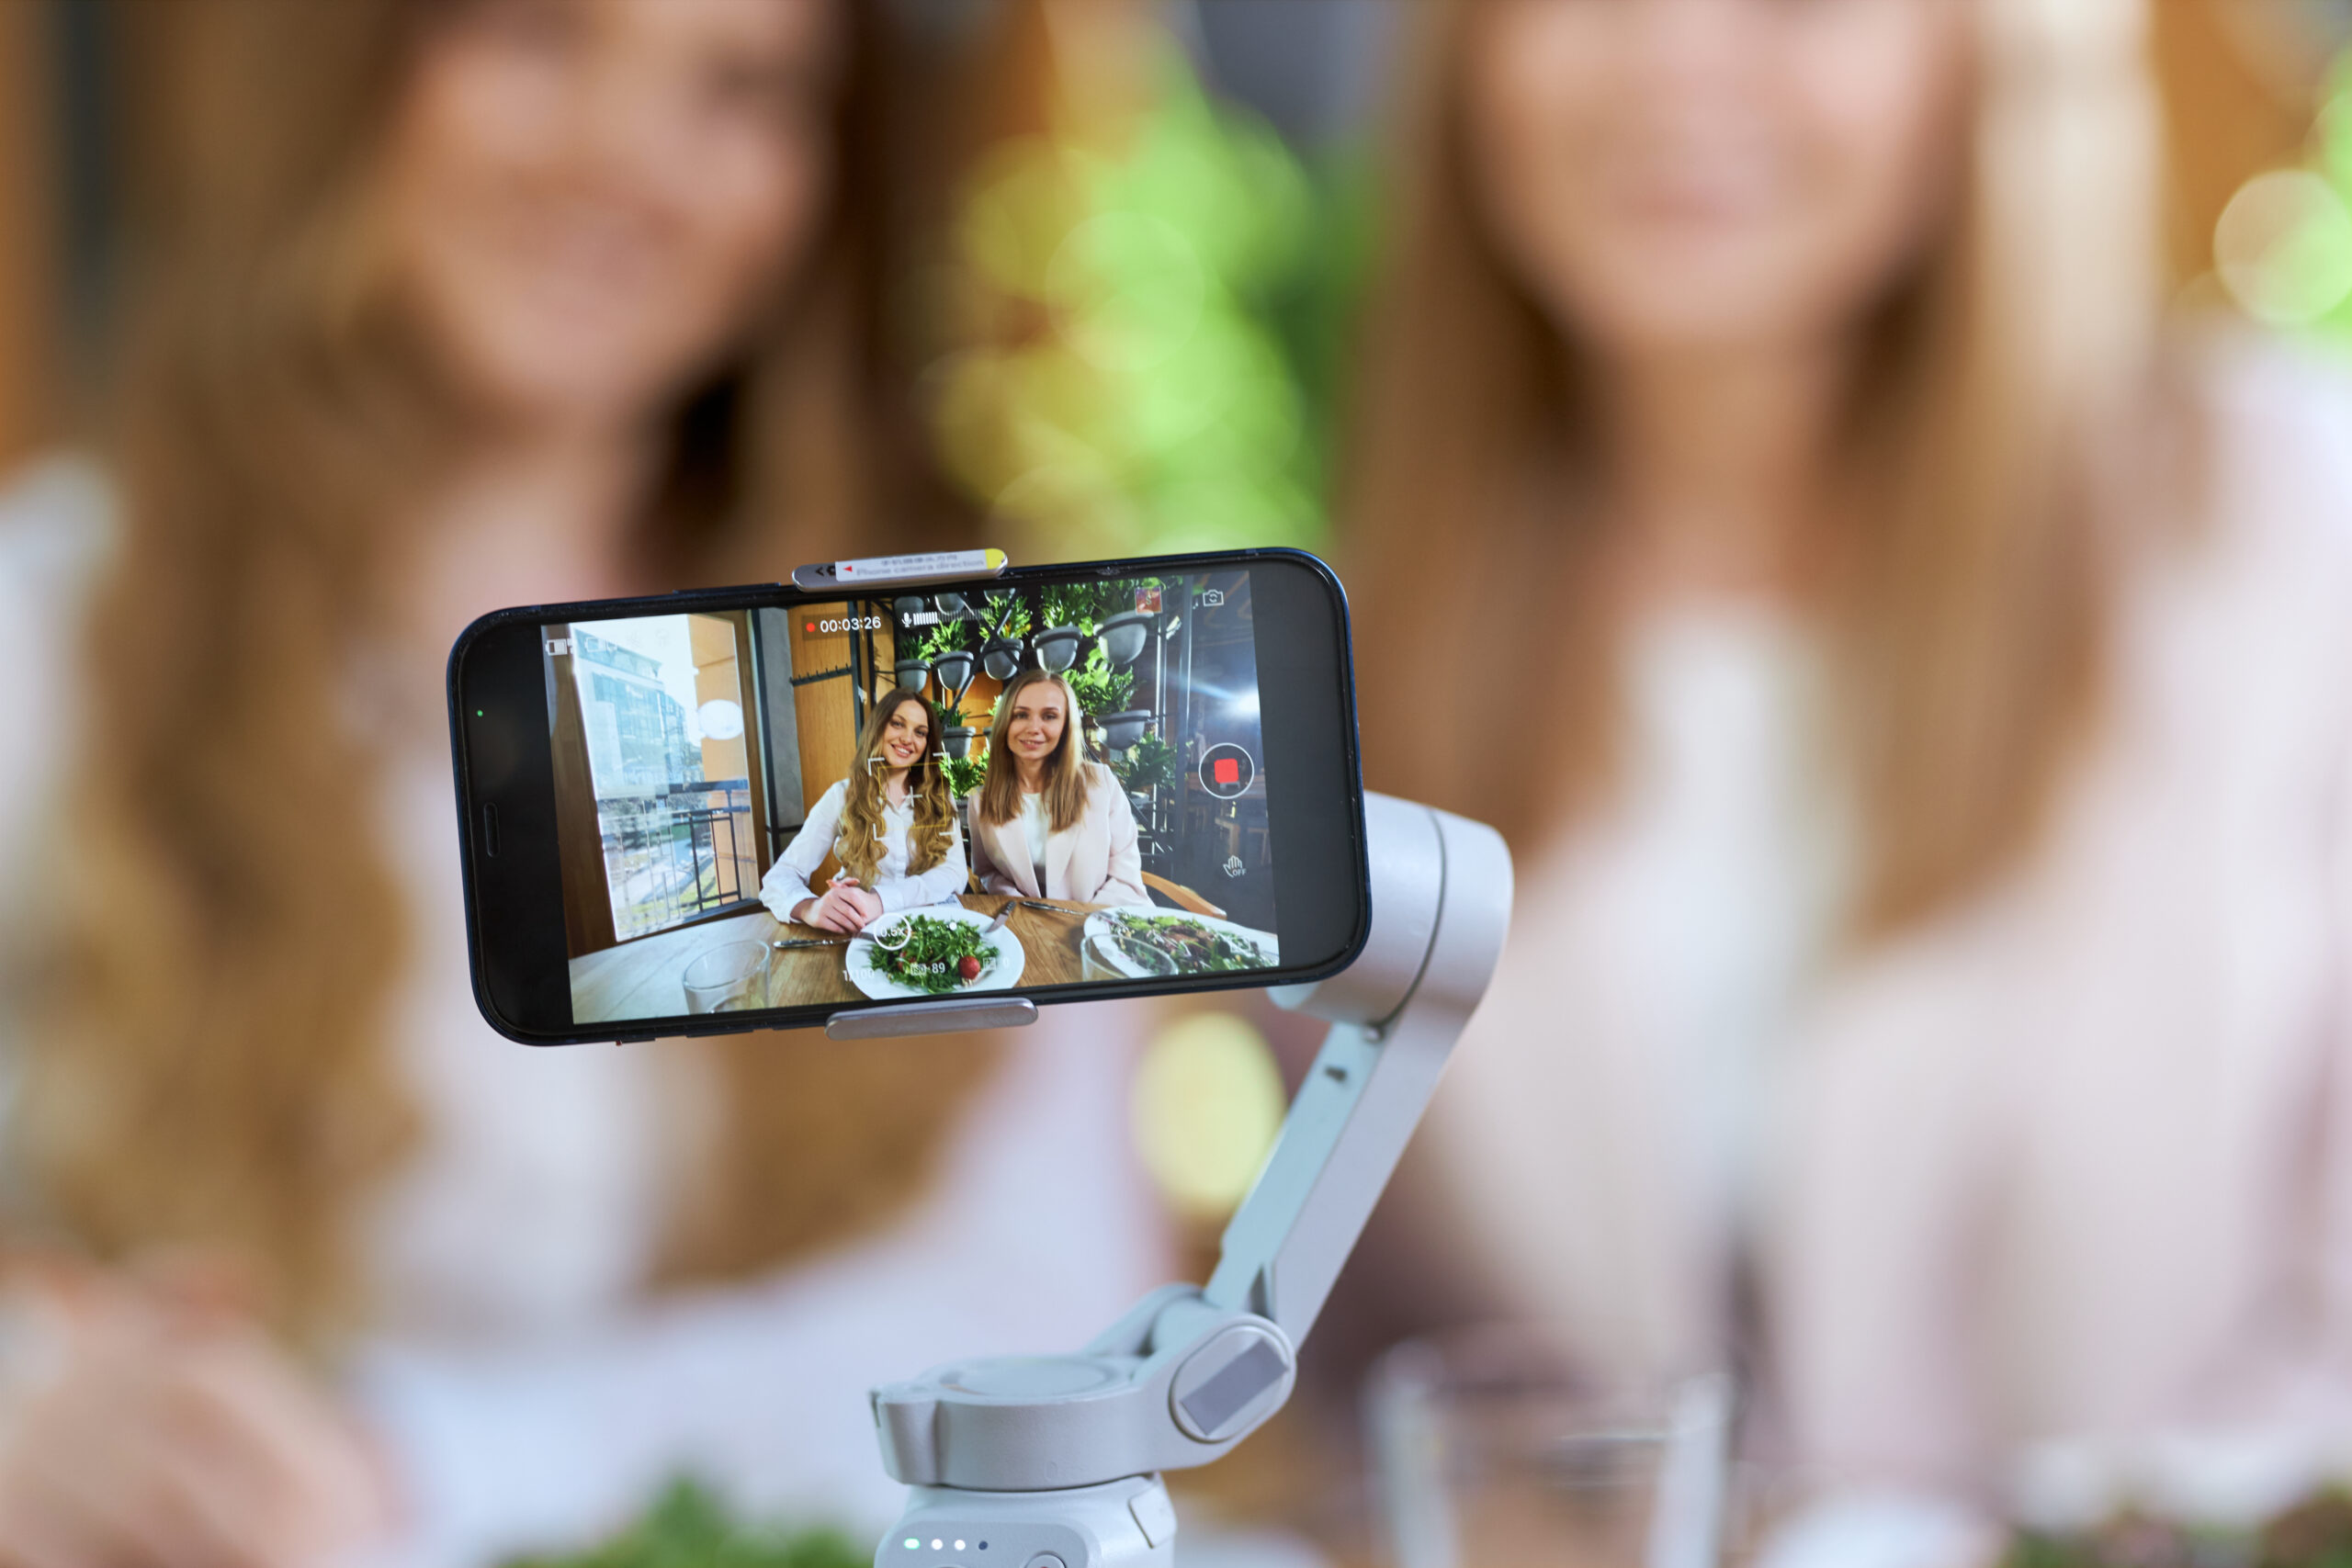
Do you want to take your photography game to the next level? Smartphones are an incredibly powerful tool for taking amazing photos that you can share with friends and family. With a few simple adjustments, you can unlock the potential of your phone’s camera and start capturing stunning images. In this article, we’ll cover the basics of taking great photos with your smartphone – from adjusting flash settings to finding the perfect angle – as well as how you can use editing apps to improve your photos even further. So grab your phone and let’s get started on mastering smartphone photography!
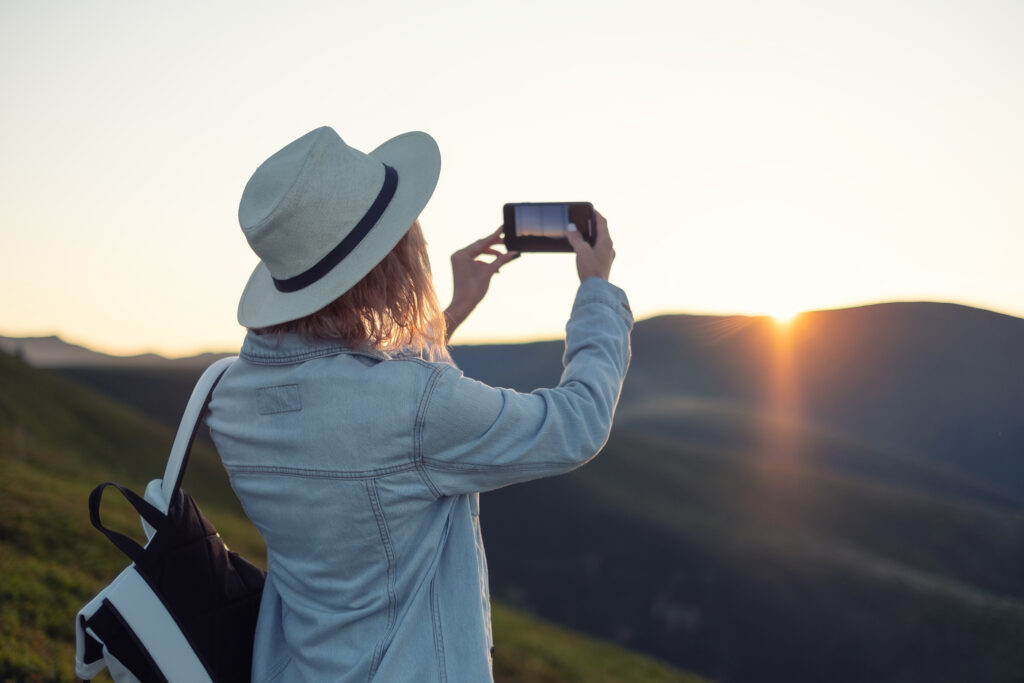
Benefits of Using Smartphones for Photography
Smartphones have revolutionized photography in the modern age, making it accessible to everyone. With a smartphone camera, you no longer need an expensive digital camera or bulky equipment to take professional-level photos. Smartphones are also incredibly versatile, allowing you to take photos in all kinds of conditions and adjust settings like shutter speed and white balance on the fly. They offer features such as optical zoom and portrait mode, which can help you capture amazing close-up shots with beautiful depth of field.
Plus, most smartphones come with photo editing apps that let you enhance your shots even more before sharing them on social media. So if you’re looking for an easy way to get into photography, then using a smartphone is the best choice!
Basic Camera Settings and Features
Smartphone cameras offer a range of features and settings that can help you take great photos. Adjusting basic camera settings such as flash, zoom, focus, exposure, white balance, and HDR mode can significantly impact the quality of photos. These settings help adjust sharpness, brightness, and color temperature to capture visually appealing and high-quality photos.
Adjusting Flash Settings
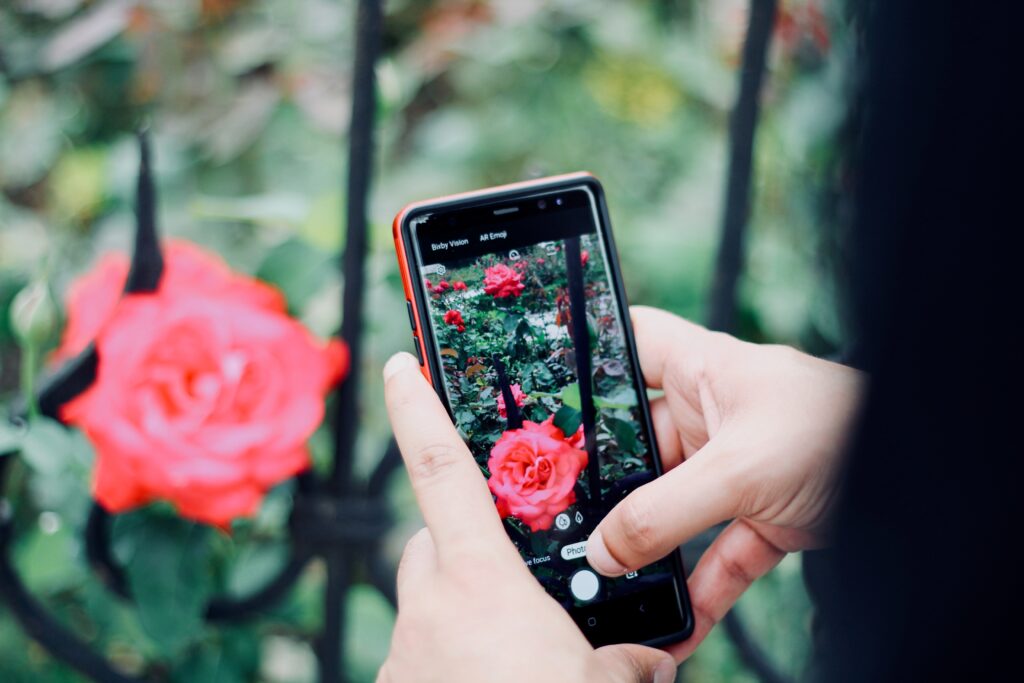
Flash settings are an essential tool for taking great photos with your smartphone. The flash is a powerful source of light that allows you to capture clear shots even in low-light conditions. Adjusting the flash settings on your phone can help you achieve the perfect balance between darkness and overexposure. Start by turning off the flash completely if natural light is adequate, as using it can cause harsh shadows or wash-out colors.
If you need more light, try using the “fill-in” setting which will brighten up dark areas without overdoing it. Lastly, remember to check the white balance setting to make sure your images don’t look too yellow or blue—this can be easily done by adjusting the temperature slider in your camera app’s settings.
How to Change Zoom Settings
Zoom settings are an important factor when taking photos with your smartphone. Digital zoom allows you to zoom in closer with minimal quality loss, while optical zoom will give you sharper images as it uses the phone’s actual lenses. To get the most out of your smartphone camera, set the digital zoom to a maximum of 3x and only switch to optical zoom when necessary.
With digital zoom, however, keep an eye on the shutter speed—the slower it is, the more likely your photo will be blurry. To avoid this, use a tripod or lean against something steady to keep your phone still and ensure you get a clear shot every time.
Altering Focus, Exposure, and White Balance Settings
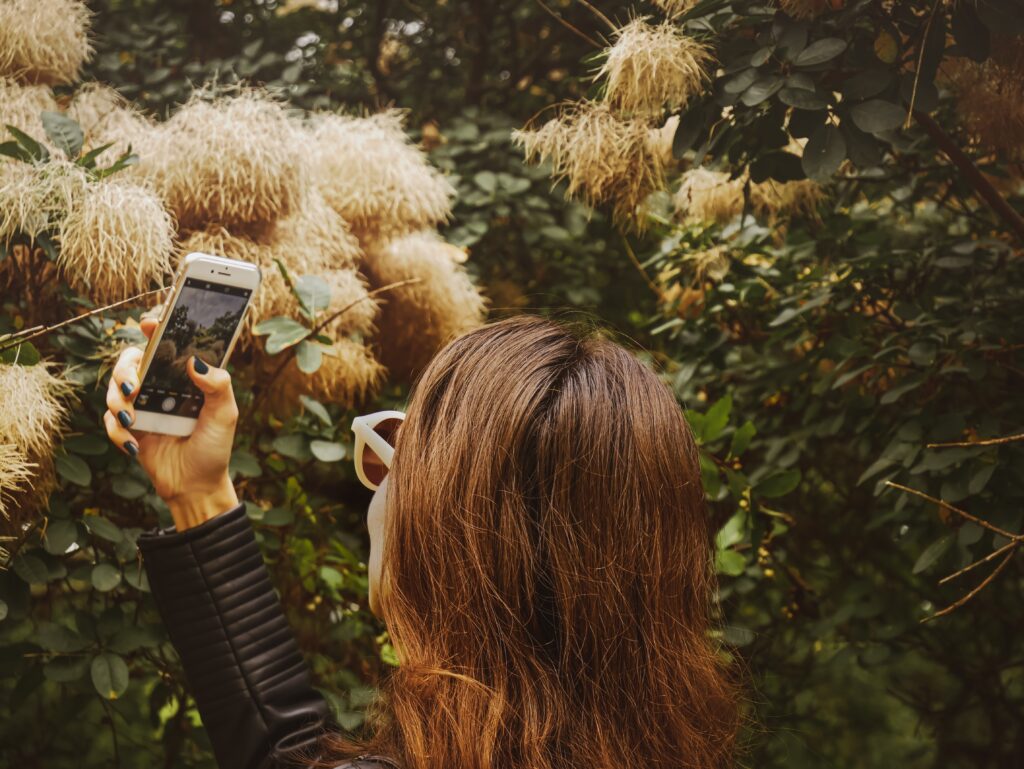
Altering focus, exposure, and white balance settings is an essential part of taking great photos with your smartphone. To adjust the focus, use the shutter button on the phone to select a point you want to be in focus and then press down halfway so that it locks onto this spot.
To change the exposure settings, slide left or right on the screen until you find a setting that works for your photo—it’s best to avoid using auto-exposure as it can often produce images that are too dark or too bright. Finally, when it comes to white balance, use natural light whenever possible as this will give you more accurate colors in your photos; if you have to use artificial lights, try using white balance filters or a photo editing app to correct any color casts.
Utilizing HDR Mode to Brighten Photos
Utilizing the HDR (High Dynamic Range) mode on your smartphone camera is a great way to brighten photos. HDR mode takes multiple exposures of the same scene and combines them together to create a more balanced, detailed photo. When photographing in high-contrast scenes with both light and dark areas, utilizing the HDR mode can provide an improved image that captures all of the details of the scene.
Additionally, when shooting in low light or harsh lighting conditions, using HDR mode helps to bring out detail and brightness in shadows without overexposing highlights. To activate this feature, simply enter your phone’s camera settings and tap on “HDR” (or Auto-HDR). With HDR mode enabled, you should be able to take brighter photos with more detail than ever before!
Composing and Framing the Shot
Composing and framing a shot correctly can make all the difference when it comes to taking great photos with your smartphone. It involves finding the perfect angle, experimenting with different shapes and lines, utilizing natural light effectively, and understanding perspective and depth of field to create visually appealing images that capture the essence of the subject. Experimenting with different compositions is key to achieving professional-looking images with your smartphone camera!

Finding the Perfect Angle
Finding the perfect angle to take your photos is essential when taking great photos with your smartphone. Professional photographers often take multiple shots from different angles in order to capture the best possible result. To do this, you will need to experiment with different perspectives and angles. Try shooting from a lower angle for dramatic effect or an elevated angle for a unique perspective. For portrait photography, it’s important to find the best angle that flatters the subject’s features while still being aesthetically pleasing.
You can also try shooting from the side or back in order to add more dimension and depth to your shot. As you experiment with different angles and perspectives, remember that sometimes even small adjustments such as tilting your phone slightly can make a big difference in creating the perfect shot!
Using Different Shapes and Lines to Create Interesting Images
Using different shapes and lines in your photos can create interesting and eye-catching compositions. Shapes, lines, and patterns are elements that draw the eyes of viewers to certain areas of the photo. You can use lines to lead the viewer’s eyes through the image or to focus on a particular element.
Shapes can be used to highlight a subject or create a sense of balance in an image. Use circles, triangles, rectangles, and other shapes to add interest and texture to your images. You can also play with patterns such as repeating shapes, geometric designs, or colorful textures to make your photos stand out from the crowd.
Utilizing Natural Light Effectively
Utilizing natural light effectively is one of the most important skills that any photographer should master. Natural light can create beautiful and dramatic effects in your photos, but it can also be harsh and overwhelming if not used properly. To get the best results, you need to understand how light works and the different types of lighting available. Start by learning about the different types of light sources such as direct sunlight, diffused light, reflected light, and artificial light.
Once you have a better understanding of these lighting conditions, you can begin experimenting with different angles and distances from your subject. Pay attention to how shadows are created in your photos and use them to create interesting compositions.
Understanding Perspective and Depth of Field
Perspective and depth of field are two important elements of photography that can affect the overall impact of your images. Perspective refers to the angle from which you take a photo, while the depth of field is the distance between the closest and farthest objects in focus. Understanding how these two elements work together will help you create unique and interesting photos.
When taking a photo, consider the foreground, background, and mid-ground elements in order to create an effective composition. You can use a wide-angle lens to capture more of the scene or zoom in for tighter shots with a shallow depth of field.
Improving Photo Quality with Editing Apps
Editing apps have become popular for enhancing photos for personal or professional use. It is important to select the right app and understand different editing tools and apply basic adjustments to improve the composition and overall quality of photos. With the right app and knowledge of editing tools, anyone can turn their average photos into stunning works of art.
Selecting The Right Editing App for Your Needs
When it comes to selecting the right photo editing app for your needs, it’s important to consider your level of experience and the type of photos you want to create. If you are just starting out with photography, a basic photo editor with simple features might be enough to get you started. However, if you are an experienced photographer looking for more advanced tools, there are many options available.
It’s also important to consider the type of photos you want to edit. For example, if you plan on doing a lot of portrait photography, look for apps that offer specialized tools such as skin smoothing and blemish removal. Similarly, if you want to take night photos or create HDR images, make sure your chosen app has these features.
Finally, always read reviews before downloading an editing app. Reviews can help you identify any potential issues or problems with an app so that you don’t waste time or money downloading something that isn’t suitable for your needs.
Understanding Different Editing Tools and What They Do
When it comes to editing photos, there are a variety of different tools available. Understanding what each of these tools does can help you create the perfect shot. For starters, digital zoom allows you to make your photo bigger without sacrificing quality, while optical zoom is used to magnify distant objects without affecting image quality. Shutter speed determines how long the shutter stays open when taking a photo, and white balance helps adjust the color temperature of a scene so that colors appear natural.
Other useful editing tools include portrait mode which helps you blur out backgrounds and emphasize your subject, as well as night mode which helps reduce noise in low-light settings. Additionally, optical image stabilization helps keep your phone steady when taking photos, and depth of field (also known as shallow depth) allows you to create an artistic blur effect for more professional-looking photos. Understanding all of these features and how they work together can help you take better photos with your smartphone camera.
Applying Basic Adjustments to Your Photos
Once you’ve taken your photos, applying basic adjustments can make them look even better. While editing apps provide many options for enhancing and transforming your images, there are a few simple adjustments that you can make to improve the overall quality of your photos.
Firstly, pay attention to the light in your scene. If you’re shooting outdoors, try to position yourself in an area with natural light and avoid harsh shadows or glare from the sun. If you’re indoors, use artificial lights such as lamps or LED lights to create a more flattering atmosphere for your subjects.
Next, adjust the exposure settings of your photo to make sure it’s not too bright or too dark. You can also tweak the contrast levels and color saturation to add depth and vibrancy to your images. Finally, use cropping tools to refine the composition of a shot so that it looks more balanced and aesthetically pleasing.
Conclusion
The use of smartphones is becoming increasingly popular for taking photos, and with the right techniques, they can produce stunning results. By understanding the basics of smartphone photography such as digital zoom, shutter speed, white balance, and portrait mode, you’ll be able to capture images like a professional. Additionally, making simple post-production adjustments such as adjusting exposure levels and cropping can enhance your final images. With the right knowledge and practice, you’ll soon be able to take amazing photos with just your smartphone camera.

