

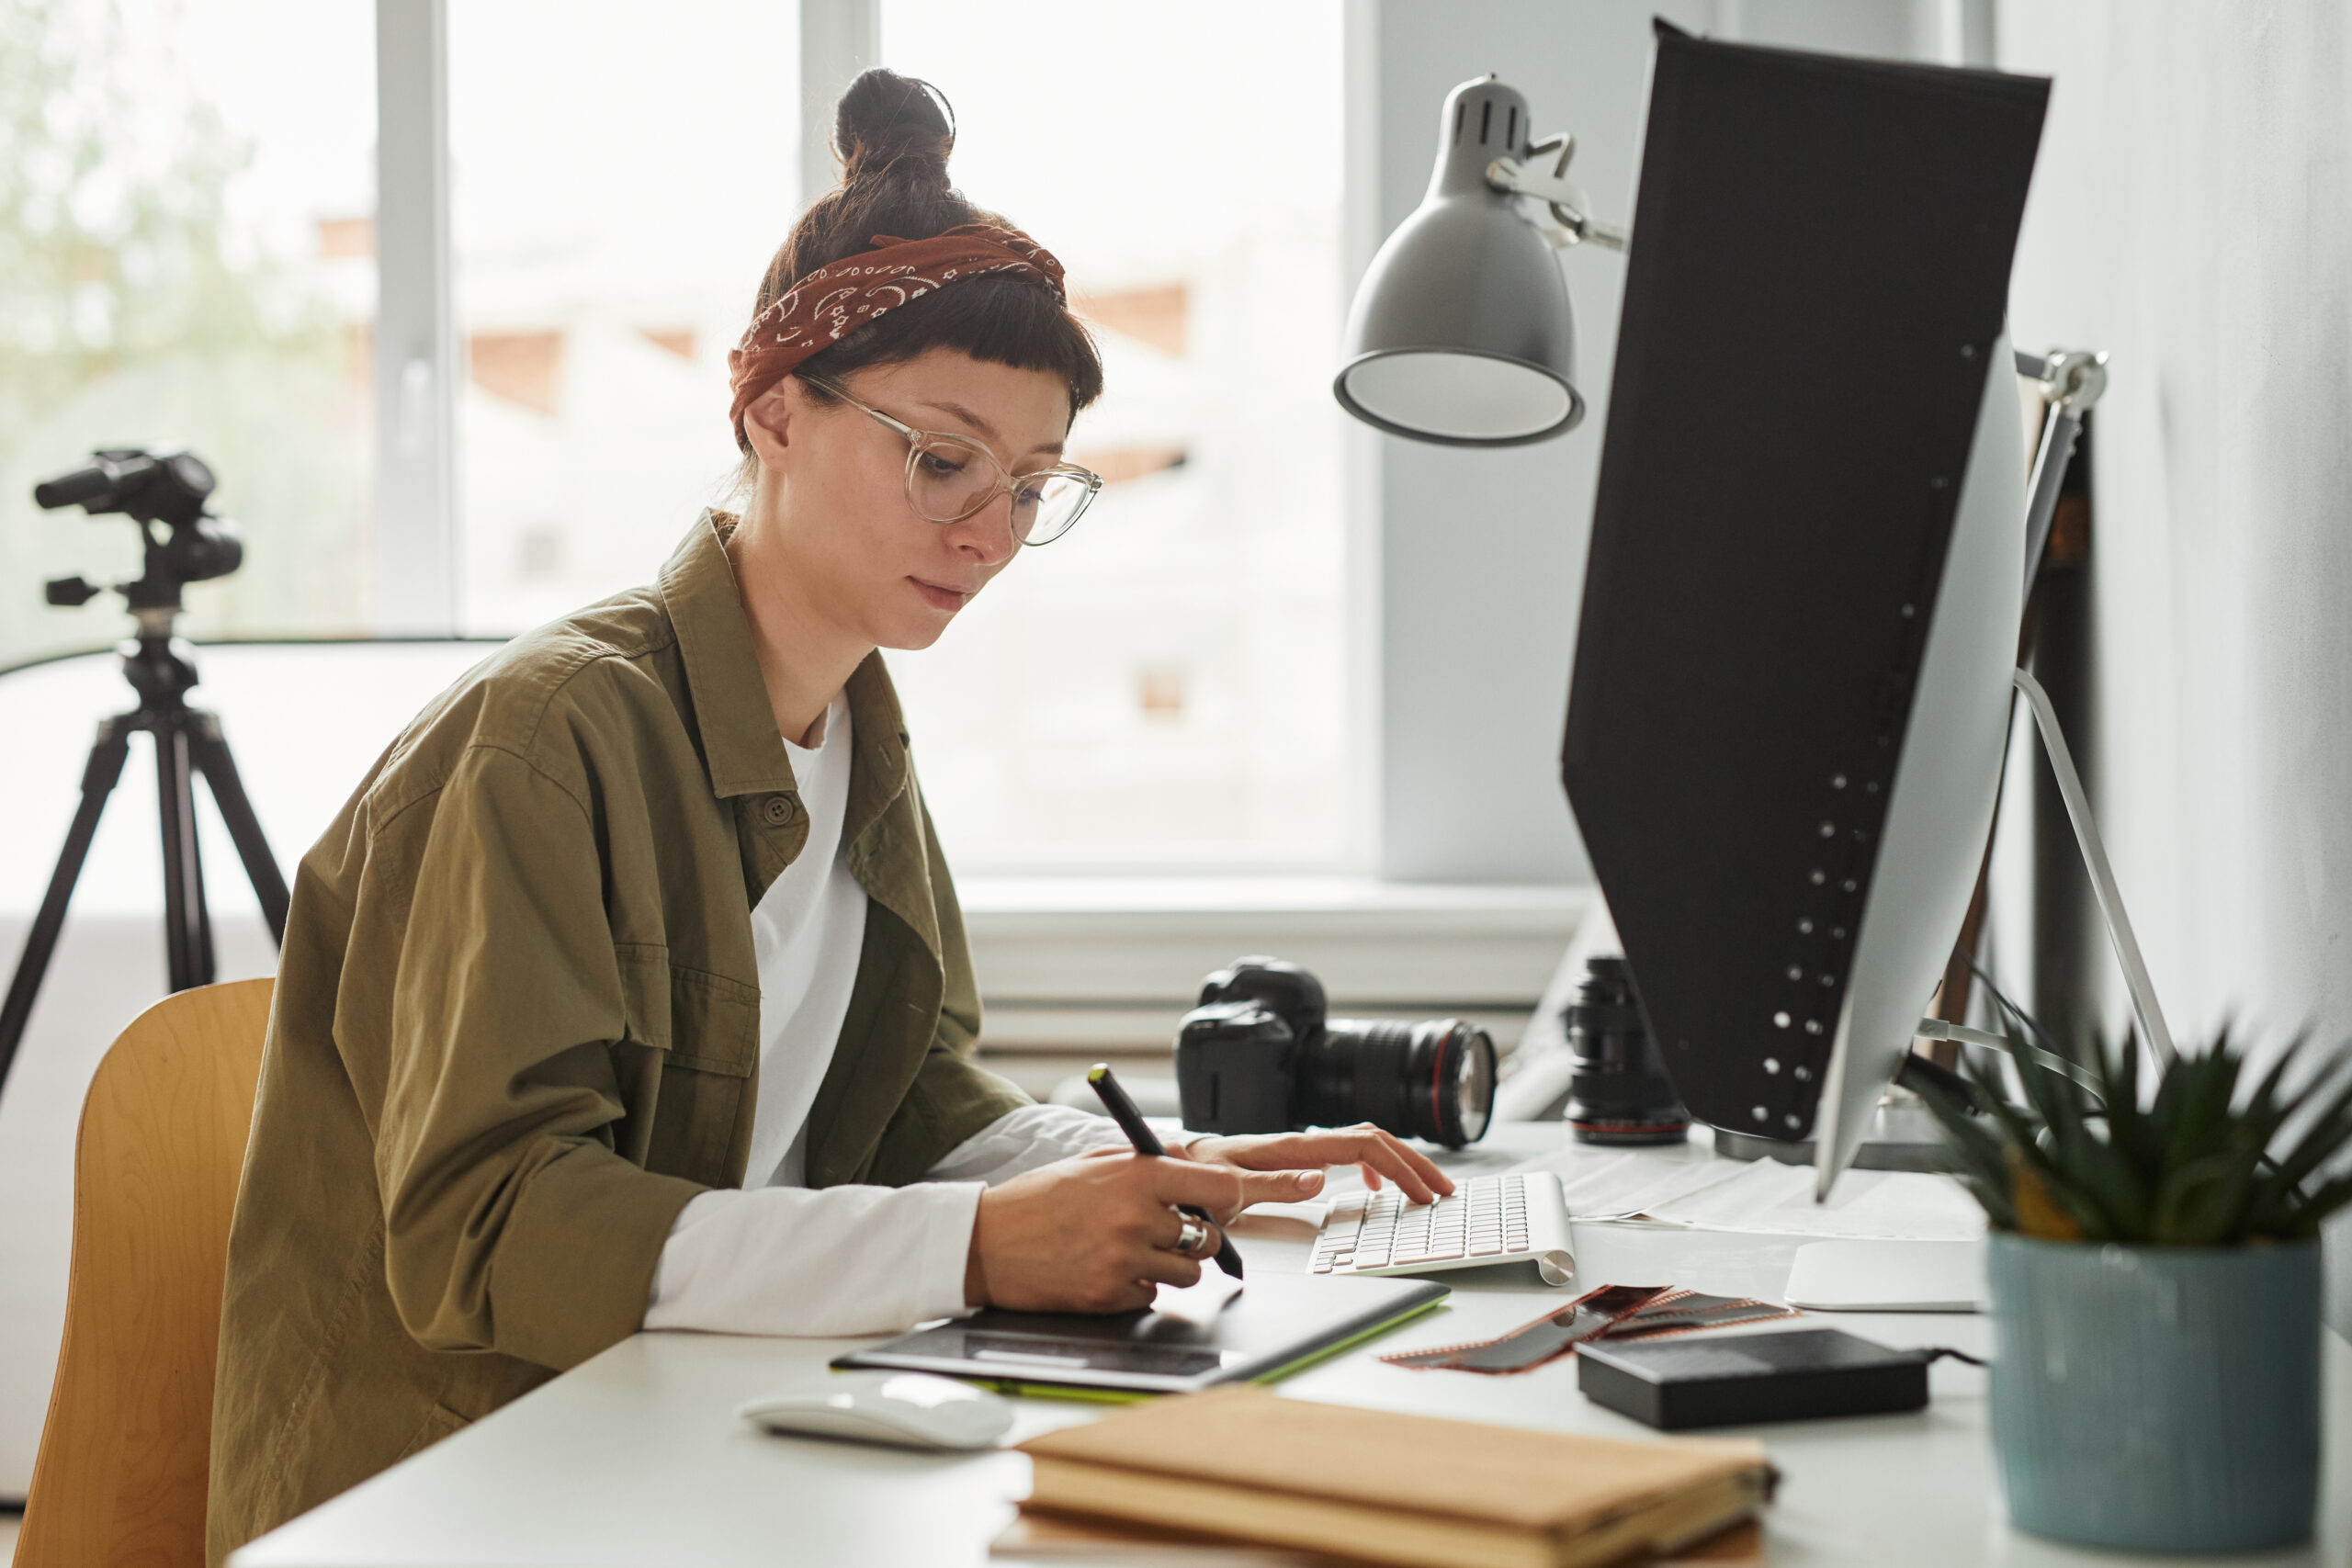
If you’re an aspiring photographer looking to take your work to the next level, setting up a home photo studio is the perfect solution. Having your own space dedicated to photography opens up a world of possibilities, allowing you to take stunning photographs without breaking the bank. With the right planning and preparation, it’s possible to create a professional-level home photo studio on a budget. In this article, we’ll explore how to set up a home photo studio on a budget and provide tips for producing quality photos. So grab your camera and let’s get started!

Definition of a Home Photo Studio
A home photo studio is a dedicated space that allows photographers to capture quality images with the help of natural and/or artificial light. Home photo studios are often used for product photography, portrait shoots, and other types of photographic projects. Home photo studios can be set up in spare bedrooms, basements, or any room with enough floor space to accommodate all necessary equipment.
Professional photographers may opt for more elaborate setups that feature various types of lighting, backdrops, and other tools. Amateur photographers can create professional-looking results by investing in basic studio lights and a few other pieces of equipment. With a bit of know-how, anyone can construct a dream studio on a budget!
Planning Considerations
When planning a home photo studio, budget and space requirements are important factors to consider. Investing in high-quality equipment such as a camera, lenses, lighting equipment, backdrops, and props is key to producing professional-looking photos. Careful planning and consideration of these factors will help ensure success.
Budget
Creating a home photo studio on a budget is possible with careful planning and preparation. When selecting the space for the studio, it is important to consider the size of the area as well as any natural light or ambient lighting available. Additionally, blackout curtains or opaque window treatments should be used to create an even lighting environment in order to ensure consistent images.
Equipment choices should also be carefully considered and can include items such as lights, backdrops, tripods, reflectors, and more. Finally, investing in professional photography software can help make post-processing changes and touch-up images quickly and easily.

Space Requirements
The space needed for a home photo studio depends on the type of photography that will be conducted. For product photography, a spare bedroom or small corner of a room may be enough to set up a basic studio. However, if space is limited, it is possible to use an area such as a closet with the door open or even a large cardboard box!
When setting up the studio, it is important to make sure there is enough space for the photographer and their equipment. Additionally, having ample floor space provides flexibility when shooting full-body portraits or larger products.
Equipment Needed to Get Started
Setting up a professional home photo studio doesn’t have to be expensive. With some basic pieces of equipment, it is possible to create a functional and attractive space for taking photos. Depending on the type of photography being conducted, the essential items may include a digital camera with interchangeable lenses, a tripod, reflectors, and ambient or soft lights.
Additionally, having a white paper backdrop or seamless background will help to create a professional look for product images. Finally, props such as chairs or stools can add another layer of interest to portrait sessions.

Setting Up the Basics of Your Home Photo Studio
Setting up a home photo studio involves creating a soft and diffused lighting setup, using a simple background, and selecting the right camera and settings. Softbox lights, reflectors, and diffusers can be used for lighting, while backdrops can be achieved with a backdrop stand and various materials. It is important to choose a camera with manual controls and high resolution and adjust settings such as ISO, aperture, and shutter speed. These elements can help create professional-looking images.
Lighting Setup
Achieving the best results in any professional photography studio begins with a reliable lighting setup. Ambient light is the most budget-friendly option and can provide soft, even illumination when used correctly. However, having professional studio lights on hand can give you greater control over your photos by allowing you to adjust power settings and add fill or rim lighting to create unique effects. Softboxes are great for providing even coverage and avoiding glare, while umbrellas or reflectors can be used to bounce light off of walls or ceilings for softer illumination.

Backgrounds
A professional photo studio setup requires a well-thought-out background to make your photos stand out. The background of your photos can add depth and dimension, or it can be the main focus of the image. A white backdrop is perfect for product photography and gives a clean look that is easy to edit. However, you can also use a patterned fabric or textured paper for more creative images. If you want to get creative with portrait photography, consider adding props such as chairs or stools for full-body shots or creating an interesting scene with multiple elements.
Camera Selection and Settings
Choosing the right camera and setting for your home photography studio is essential for achieving professional-looking images. When selecting a camera, consider the type of photography you will be doing. The most popular cameras for home studios are DSLR cameras due to their versatility, ease of use, and affordability. For product photography, you may want to look into a compact digital camera or mirrorless camera as they both offer good image quality in a smaller form factor.
Regardless of which type of camera you choose, make sure it has manual settings so that you can adjust the shutter speed, aperture, and ISO to get the perfect exposure. Additionally, it’s important to understand how each setting affects the outcome of your photos so that you can get creative with your shots and create stunning images!
Tips for Producing Quality Photos in Your Home Photo Studio
Creating good photos in a home studio requires attention to detail and proper lighting. Softbox lighting can help achieve even and natural lighting. Props can add interest but should not be overused. Patience and treatment can help with difficult subjects. Editing techniques can enhance the final product. Planning and preparation are important for quality photos in a home studio.
Properly Lighting the Subject
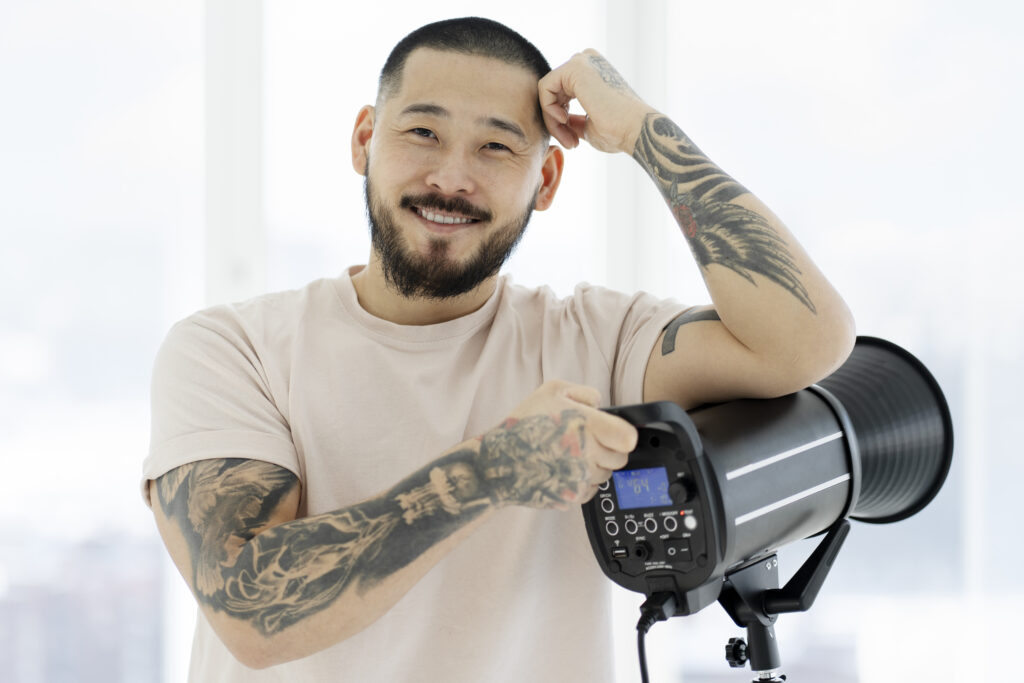
Properly lighting your subject is key to producing quality photos in your home photo studio. It’s important to create soft, flattering light that will bring out the best qualities of your subject and make them look their best in the photo. Utilizing a combination of natural light and studio lights is often the best approach as it allows you to control the direction and intensity of light. Natural light can be diffused with a sheer curtain or used directly through windows or open doors.
Studio lights such as LED panels, softboxes, and umbrellas can also be used to create different types of lighting effects such as dramatic backlighting or rim lighting. When setting up lights, aim for a balance between shadows and highlights on your subject’s face, paying careful attention to shadows under the eyes and chin which can cause unflattering results if not corrected.

Use of Props
Props can be a great way to add an interesting element to your photo studio setup. Props can be used to create a particular mood or atmosphere within the image, such as adding a vase of flowers to create a romantic ambiance or adding a chair and books for a more professional look. When selecting props, make sure they complement the subject and don’t distract from them.
Additionally, you may want to keep props organized in labeled boxes or containers so you can easily find what you need when you’re setting up for a shoot. It is also important to consider the size and scale of the prop when using it in your photo studio setup – small items may get lost in the background if not placed close enough to the subject.
Working with Difficult Subjects
When working with difficult subjects, it is important to remain patient and understanding. It can be helpful to practice your poses and expressions in front of a mirror before the shoot so you have an idea of what works best for the subject. If a subject is uncomfortable, take a break and allow them to relax as needed. However, if the session needs to be completed quickly, try talking through poses and expressions in order to get the desired results.
You should also be prepared for unexpected reactions such as nervous laughter or sudden movements. In these cases, remain calm and ask questions about why they reacted that way – this can help you understand the subject better and adjust your approach accordingly. Above all, maintaining a positive attitude will help ease any tension between you and the subject, allowing for successful photography sessions!
Editing Techniques
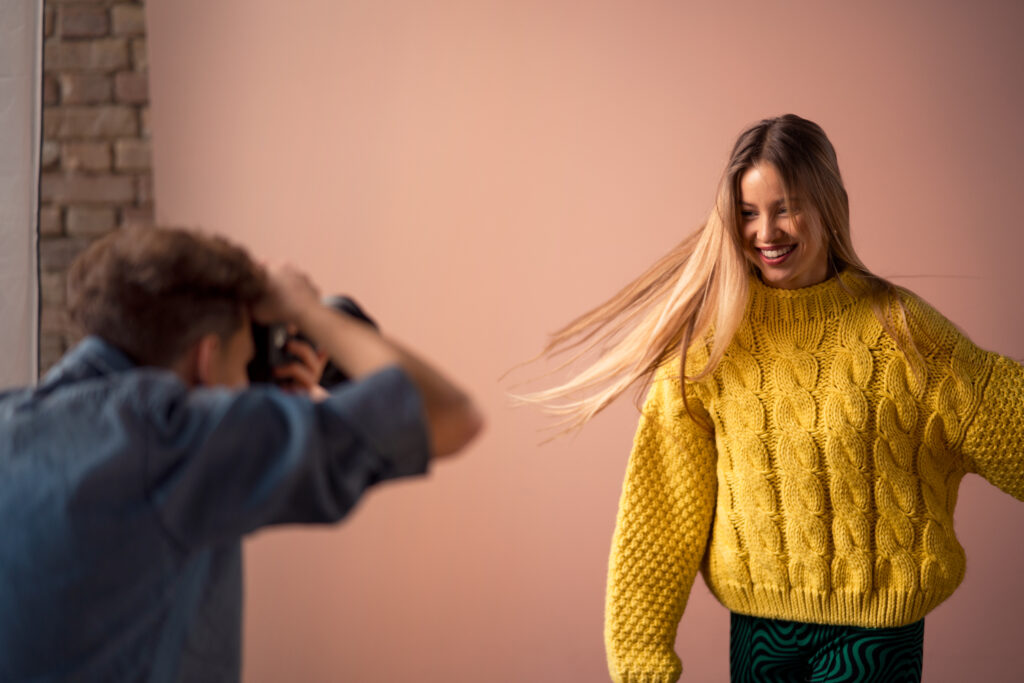
Once the photos have been taken, there are several editing techniques available to enhance a photo. Simple adjustment tools such as cropping and brightness can be used to perfect an image. However, more advanced techniques such as color grading and masking can also be employed to create stunning images with a professional look.
Additionally, many programs offer specialized lenses and filters that can be used to alter the mood of the photo or add special effects. These tools are especially useful for product photography when trying to capture certain details or create a consistent look across multiple shots.
Conclusion
The conclusion is the final step in setting up a successful home photo studio. After taking the time to consider space, lighting, and equipment, photographers should practice regularly to perfect their craft. Then, they can begin experimenting with different backdrops, props, and editing techniques to create unique and professional-looking images. With dedication and creativity, anyone can turn a spare bedroom into an impressive studio that rivals any professional setup. With a little bit of effort and patience, photographers can enjoy all the benefits of having their own personal studio right at home!

